Monthly Environment Art Challenge - November & December 2017 (51)
Hello everyone and welcome to the Monthly Environment & Prop Challenge #51!
Incredible work by all - as always special thanks to everyone who participated in the voting process this time.
Remember if you don't finish in the time allotted, just keep plugging away and post when your work is finished. There's always some good progress that falls off the radar - we want to see your work! So keep going and finish those pieces!
Without further ado, here are our options for Challenge 51!

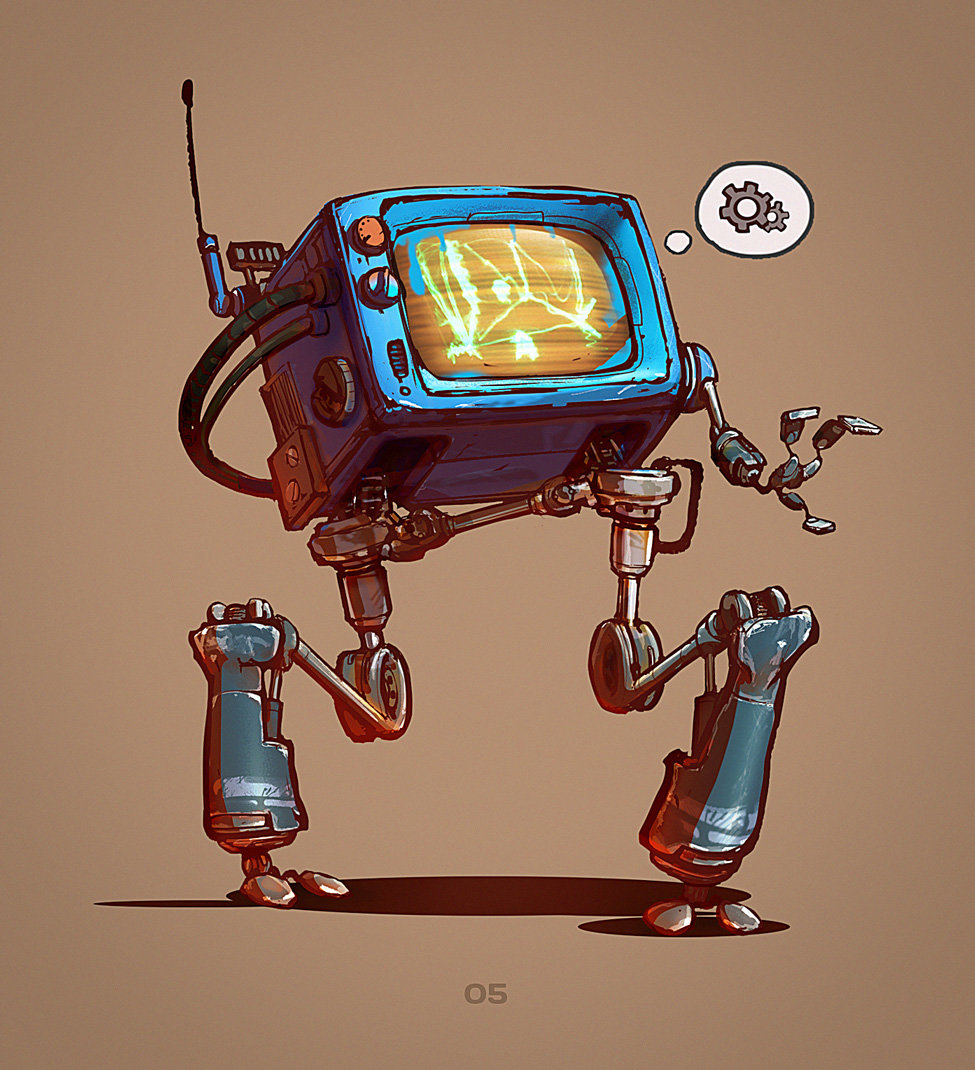
HARD SURFACE CATEGORY:

artist: studioqube
HAND PAINTED CATEGORY:

artist: Olga Orlova

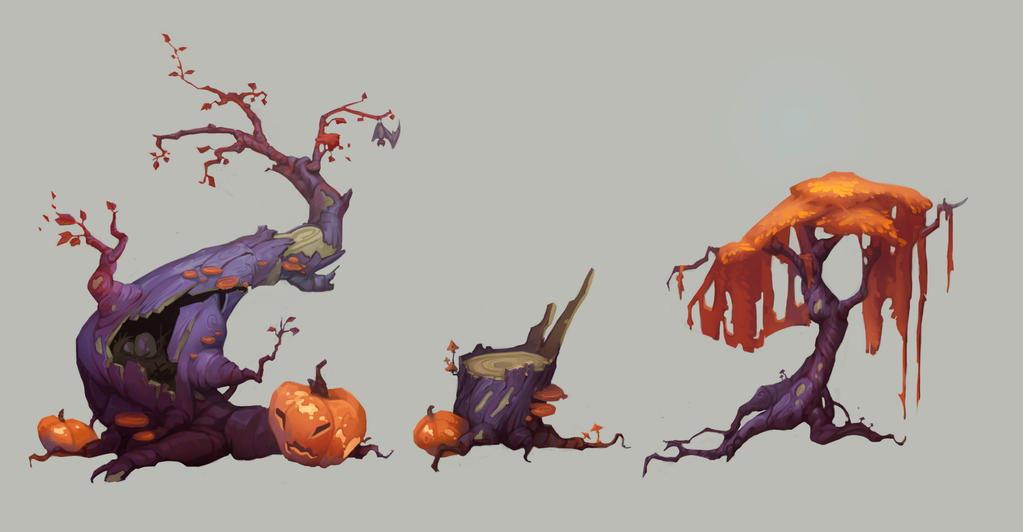
HAND PAINTED CATEGORY:

artist: nieris
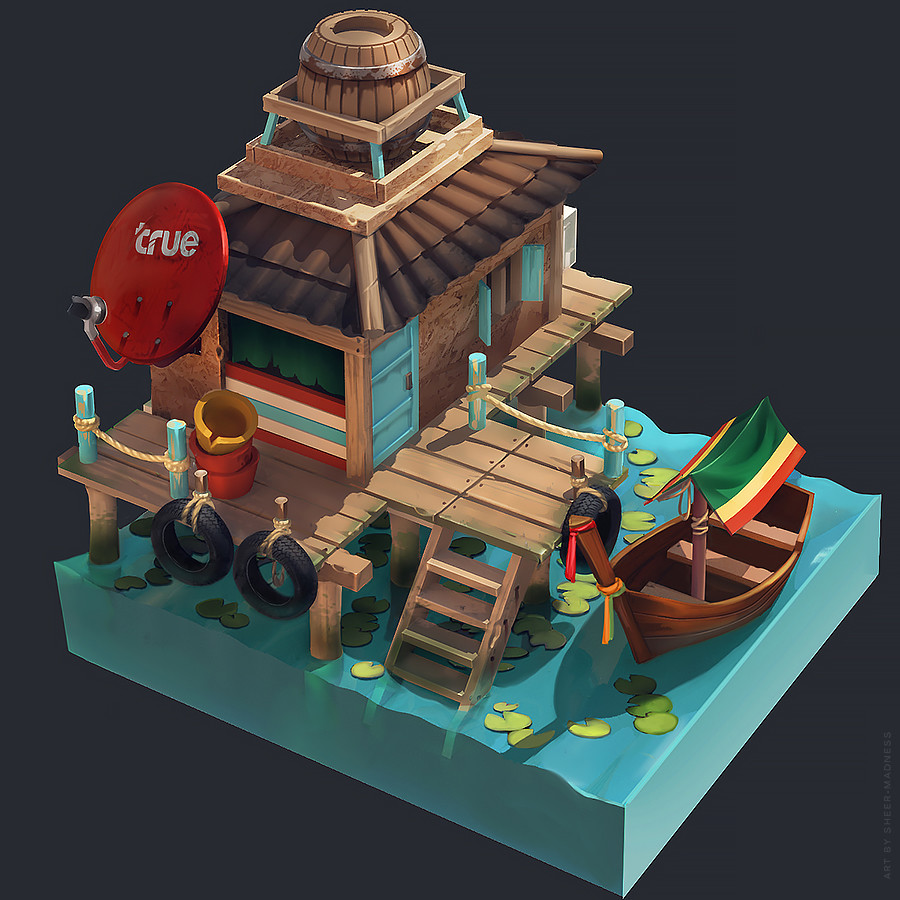
HARD SURFACE CATEGORY:

artist: Ruslan Safarov

Incredible work by all - as always special thanks to everyone who participated in the voting process this time.
Remember if you don't finish in the time allotted, just keep plugging away and post when your work is finished. There's always some good progress that falls off the radar - we want to see your work! So keep going and finish those pieces!
Without further ado, here are our options for Challenge 51!

HARD SURFACE CATEGORY:

artist: studioqube
HAND PAINTED CATEGORY:

artist: Olga Orlova

HAND PAINTED CATEGORY:

artist: nieris
HARD SURFACE CATEGORY:

artist: Ruslan Safarov
If you want to change up either concept a bit, as some people wanted, then feel free. Interpret these concepts to your liking.

Please read all the rules before starting.
When you are just starting out making a scene, it can seem complicated or imposing, so take the time to break it down.
Think about how you can re-use assets, re-use textures, break it down as simple as possible and plan it out. A lot of people will break it down in their own way when they start out their challenge. Gather some reference images as well for different parts of the scene, maybe gather some refs and make it your own.
Take your time planning and blocking out, it will set you up for success later on.
Here are some specifics.
- Try to post one critique for every post that you make. This will make for a better learning environment and help us all grow as artists.
- You must use a game engine to present your work. Unreal Engine and CryEngine are very common engines that can be used but feel free to use any alternatives that you want. (Marmoset Toolbag is allowed as well)
- You must try your best and finish as much as you can in the time frame provided.
- Post what you are working on in this thread so that way it's a more centralized place for advice and critique. We don't need to have 1000 disjointed threads littering the forums.
- I would strongly encourage you to go and look at other games and see how they make their assets as well as get concept art to give it your own feel, but it must stay very close to the concept, if not super close.
All that matters is that you learn while being able to effectively critique others, as well as accept critiques on your own work. Remember to have fun. Cheers!

Replies
Man this is so nice, i wish i had time to make 3d all day T_T
Decided I'd tackle the hand-painted category - organic modelling is something I need to work on, especially trees. Roots and branches are a right headache
But anyway, started by playing around with the stump since it's fairly low investment:
Using Maya, and going for something relatively low-poly but I wonder if what I've got currently is a bit too conservative? Next up is to start defining the roots.
Base mesh for the middle tree, gonna start sculpting tonight
Lets Go!
@Mason_Colderson
Your right branch seems kind of blocky for now, otherwise the proportions seem fine..Good luck on sculpting!
A LOT more work to do..
@Larry Looking nice! Are you doing your own version of the TV robot?
I also followed up with a bit of a paint over to the image to get some better measurements on what it can look like.
I'll readjust and keep this back and forth going before moving on to Max.
Here's my blockout so far:
Have fun everyone.
Block-out:
Here is my quick blockout. nothing like @oshima great work. This may be backwards but I am going to work on the textures before I model the final assets.
great blockouts all around on the other hand painted environment piece!
I have to say I feel better with Blender's workflow, but I'm getting used to Maya as well.
Now that i've got my block stages down, i'm not really sure what the next step is. I never know if I should be taking things into Z brush or not? What is a good factor to decide if something should go to z or not?
Speaking of which, @Larry, that's an excellent reference sheet that you have of real world objects. I think that I'll do something similar for my own since there are quite a few design hurdles with the legs to overcome with the legs. As for your model, it's off to a great start and I'm very much digging the mechanical details for the leg mounts. I look forward to seeing when you get to the textures for material breakup!
Lastly, I must give nods to @Mason_Colderson and @Zerogun for their respective work in progress models. I'm very much digging the tree stump prop and you've managed to turn a seemingly simple model into a very interesting piece, Mason. Zerogun, I think that you're off to a good start by doing a quick paintover of your model and making sure everything is proportioned just right before going into detailing.
Just blocking it out at this stage still have a ways to go.
First foray into the challenge thus far. I have a general idea on how to put this guy together, though by no means is the above image an exhaustive compilation on the various parts, and most of it is for inspirational purposes for design problem solving rather than a rigid reference. Most of everything I looked at came from either 1970's era technology or auto parts.
Of course some things that don't need to withstand close scrutiny will be fudged (for example, U-joints probably won't be modeled).
I envision this TV-bot being roughly about half the height of a human (at best) so that will help with proportions and scaling of parts.
Quick 'n dirty UV guide for identifying shared / mirrored UVs vs unique UVs.
@jewski-bot I think if you make it sci-fi it's gonna be easier having to deal with "realistic" working, since you can just make a cable/pipe coming out of a panel, and get away with the engineering difficulties.
I wanted to make a robot with pipes, gear etc. So i thought "hey lets make some kitbashing objects for steampunk."
And ended up doing these modular pipes with helpers on them for quick snaping
I Uv'ed them as well and in the end i was quite happy with that so i also made a turbosquid account and sold them there. I was amazed with what i can do with these pipes.. A quick example from what could possibly be my room to place the robot
And here is what i made, using all the modular parts. The gear is "realistically" working. So now i only have to make the unique large pieces for the legs and the fingers/toes!
First WIP shot of the TV-bot Hi-Poly model! I've been trying to keep track on modeling time, and thus far, it's taken about 10 hours or so to get to this point. I think that I may have goofed and modeled a bunch of excessive details and playing around too much with weighting edges / faces to get the desired hardness, forgetting that the edges needed to be a bit more rounded then on a real world object and also that things like bolt holes don't need to be modeled if covered up.
I would say that I'm mostly happy with where I am; there are a few things that need to be fixed like the upper arm and too much negative space in the shoulder socket, so some re-sizing will need to be done there, and also the lower leg plating might need to be redone to better mimic the concept art. The feet too may be subject to being redone as well (they should be smooth and round).
All in all, this seems to be going relatively fast, the upper leg mechanism is nearly finished, and I want to say that the most tedious pieces will be those that aren't really clear. I hope to be in full retopo mode for the low poly soon enough!
Now for some feedback!
@Larry, your model is coming along very well and if your progress is any indication, I suspect that you may indeed have the better model by challenge's end. That crazy bit of piping would've driven me nuts, but it seems like you've got a good handle on it. I look forward to seeing your normal map bakes!
@oshima, Good job with the high resolution dock layout. The variation in the high poly planks, help to sell this. I'm not sure if your intention is to take this into ZBrush, but I do think it would be nice to sculpt some small chunks taken out of the wood to give it a little bit of history.
@oshima
Good blockout of the wooden porch! Looking forward to the rest of the props
@Larry
Really interesting choice to go modular! That looks like a lot of fun and very intricate.
@jewski-bot
I feel like you are being very loyal to the concept art, which is good because the point in this challenge is to create a model as close as you can to the concept art. Don't get too hung up on worrying if it looks off since the angle being used in the concept art can only give you some direction on how it actually would look in a 3D interpretation. I'd say that you shoulder mechanism looks alright, just a little too much on the skinny side. Also for the leg plate, near the knee, I feel like it should pop out a little more rather than it being curved inwards. Otherwise, great progress so far!
Hi everyone
@jewski-bot and @Larry: you two have some really cool work going on the TV bot. I can't wait to see how you guys handle the final product.
I'm really impressed by all the boat houses that are popping up in this thread. I think we can blame @oshima for making it look easy. And to @Holly Mellor I'm really liking your design. I am excited for the hand painted works everyone will be putting out. I'm curious how everyone will make it their own.
Here's my blockout of the house with almost all elements: The stairs made me feel really stupid and I think they're going to stay that way. : p
Going with a low poly approach as always x )
@Lukitscherie nice block out!
Why not continue?? The way you presented it made me laugh a little with those point lights it looks like its on stage,and the posture kind of makes it look like its in a freak show xD
https://www.artstation.com/artwork/dwRXK
Anyway, here is my initial blockout of the snowbase. I really struggled to get the perspective on point with some parts, particularly the semi-circular part on the right.
I caught the opening of this contest soon as it was posted up and thought it would be a good opportunity for my first real project. I've been following a range of tutorials but haven't made anything complex on my own, as yet. It's certainly a learning experience, getting caught in some of the details. It's taking longer than it should, but most of that time is spent thinking about, and working out, how to do something which will improve with practice.
This is as far as I've got so far. It's tempting to pull parts of the model into Substance Painter to see how it looks so far, but I want to hold off until I have the model finished and UV's finalised.
I was thinking the hoses needed to connect to something so I added the canisters and brackets, which lead onto the belt straps and buckle, just to see if I could. It still needs a little work and repositioning but the hard part is done. The front has the standard screen and dials from the reference.
I'm having trouble working out the 'hip' area and how the legs connect to the body as the reference isn't clear in that area. I'll probably go with a couple of struts each side and pivot attached to the 'hips'.
s
@IDCrisisOGood work with the snow, I like how it reacts to the light, the subtle glint and texture add a lot of interest.